
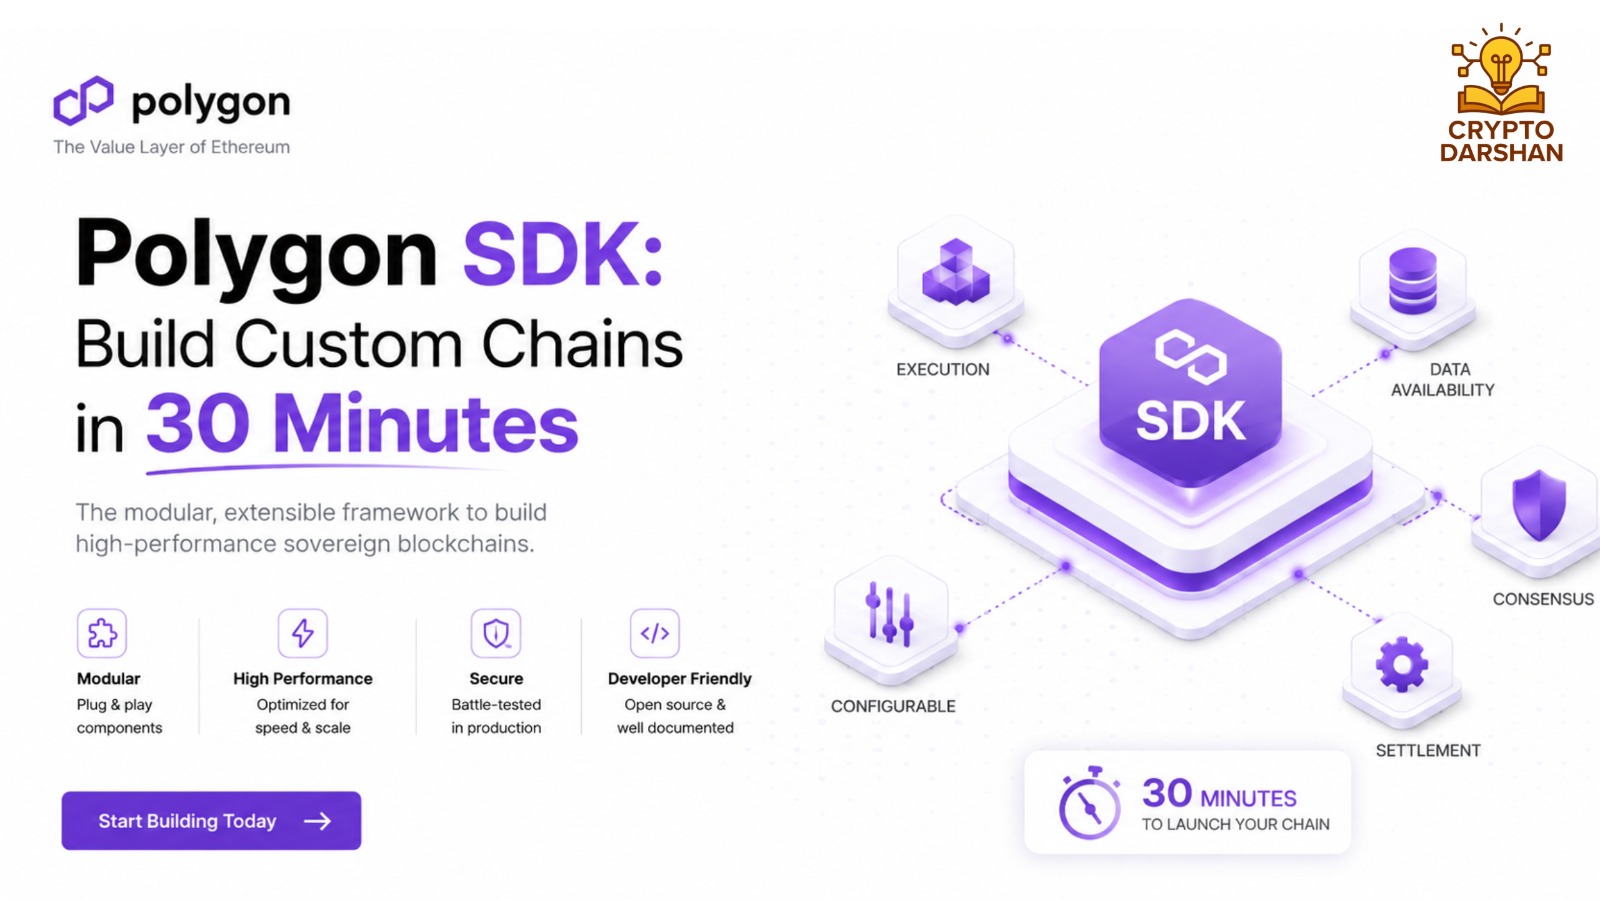
Blockchain technology has evolved from a niche innovation into a global infrastructure powering decentralized finance (DeFi), gaming, supply chain management, and countless other industries. Yet, one of the biggest challenges developers face is building scalable, customizable, and interoperable blockchains that meet specific project needs. Polygon SDK, an open-source modular framework, solves this problem by enabling developers to create custom blockchain networks quickly and efficiently.
This guide explores how to build custom chains using Polygon SDK in just 30 minutes. It covers the fundamentals of Polygon SDK, its architecture, setup process, and step-by-step instructions for creating a blockchain network. It also includes best practices, use cases, and optimization tips for developers aiming to build scalable and secure blockchain ecosystems.
What Is Polygon SDK?
The Polygon SDK is a modular and flexible framework designed to help developers build and connect Ethereum-compatible blockchain networks. Built by Polygon Labs, the SDK supports multiple consensus mechanisms, networking layers, and virtual machines, making it one of the most flexible blockchain development tools available.
Key Features of Polygon SDK
- Modular Architecture
Polygon SDK is built with modularity in mind. Each component—networking, consensus, execution, and storage—can be customized or replaced, allowing developers to tailor their blockchain to specific requirements. - Ethereum Compatibility
The SDK supports Ethereum Virtual Machine (EVM) compatibility, enabling seamless integration with existing Ethereum tools, smart contracts, and decentralized applications (dApps). - Multiple Consensus Mechanisms
Developers can choose from consensus algorithms such as Proof of Authority (PoA), Proof of Stake (PoS), or even integrate custom consensus logic. - Interoperability
Polygon SDK supports cross-chain communication, allowing blockchains built with it to interact with other Polygon networks or external ecosystems. - Scalability
The SDK is optimized for high throughput and low latency, making it suitable for enterprise-grade applications and large-scale decentralized systems. - Open Source
As an open-source project, Polygon SDK encourages community contributions and transparency, ensuring continuous improvement and innovation.
If you’re interested in Polygon’s broader scalability vision, check out our guide on Polygon AggLayer and how it aims to unify Web3 networks.
Why Use Polygon SDK?

Polygon SDK offers several advantages over building a blockchain from scratch or using other frameworks.
1. Speed and Efficiency
Developers can launch a fully functional blockchain network in minutes rather than months. The SDK provides prebuilt modules for networking, consensus, and execution, significantly reducing development time.
2. Flexibility
The modular design allows developers to customize every layer of the blockchain stack. Whether building a private enterprise chain or a public DeFi network, Polygon SDK adapts to different use cases.
3. Ethereum Ecosystem Integration
Since Polygon SDK is EVM-compatible, developers can deploy existing Ethereum smart contracts without modification. This compatibility ensures access to the vast Ethereum ecosystem of tools, wallets, and dApps.
4. Scalability and Performance
Polygon SDK is designed to handle high transaction volumes efficiently. Its architecture supports horizontal scaling, enabling networks to grow as demand increases.
5. Community and Support
Polygon Labs and its developer community provide extensive documentation, tutorials, and support channels, making it easier for new developers to get started.
Understanding Polygon SDK Architecture

Polygon SDK’s architecture is modular, meaning each component can be independently configured or replaced. The main layers include:
1. Networking Layer
Handles peer-to-peer communication between nodes. It uses the libp2p protocol for efficient message propagation and node discovery.
2. Consensus Layer
Determines how nodes agree on the state of the blockchain. Polygon SDK supports multiple consensus mechanisms, including:
- Proof of Authority (PoA): Suitable for private or consortium networks.
- Proof of Stake (PoS): Ideal for public networks requiring decentralization.
- IBFT (Istanbul Byzantine Fault Tolerance): Provides fast finality and fault tolerance.
3. Execution Layer
Responsible for executing smart contracts and transactions. It uses the Ethereum Virtual Machine (EVM) for compatibility with Ethereum-based applications.
4. Storage Layer
Stores blockchain data, including blocks, transactions, and state information. It uses LevelDB or other key-value databases for efficient data management.
5. RPC Layer
Provides APIs for external applications to interact with the blockchain. It supports JSON-RPC, enabling integration with wallets, explorers, and dApps.
Setting Up the Development Environment

Before building a custom blockchain using Polygon SDK, it’s important to set up a proper development environment. This ensures that all tools, dependencies, and configurations are ready for smooth development and testing. The setup process is straightforward and can be completed in a few steps.
Prerequisites
Before starting, make sure the following tools are installed:
- Operating System: Linux, macOS, or Windows (with Windows Subsystem for Linux)
- Programming Language: Go (version 1.18 or higher)
- Dependencies: Git for version control, Docker for containerized environments (optional), and Node.js for dApp integration
These tools provide the foundation for compiling, running, and interacting with the Polygon SDK.
Step 1: Install Go
Polygon SDK is written in Go, so installing Go is the first step. Visit the official Go website and download the installer for the operating system in use. After installation, verify that Go is correctly installed by running the following command in the terminal:
go version.
If the installation is successful, the terminal will display the installed Go version. It’s also recommended to set up the Go workspace by defining the GOPATH environment variable. This helps Go manage project dependencies and binaries efficiently.
Step 2: Clone the Polygon SDK Repository

Once Go is installed, the next step is to download the Polygon SDK source code from GitHub. Open the terminal and run:
git clone https://github.com/0xPolygon/polygon-sdk.git
This command creates a local copy of the Polygon SDK repository. After cloning, navigate into the project directory:
cd polygon-sdk
Inside this directory, all the source files, configuration templates, and build scripts are available for use.
Step 3: Build the SDK
The Polygon SDK must be compiled before it can be used. The repository includes a Makefile that simplifies the build process. Run the following command:
make build
This command compiles the source code and generates an executable binary named polygon-sdk. The build process may take a few minutes depending on system performance. Once completed, the binary will be located in the project’s build directory.
Step 4: Verify the Installation
After building the SDK, verify that it was installed correctly by checking the version:
./polygon-sdk version
If the installation was successful, the terminal will display the current version of Polygon SDK. This confirms that the binary is functional and ready for use.
Step 5: Configure Environment Variables (Optional)
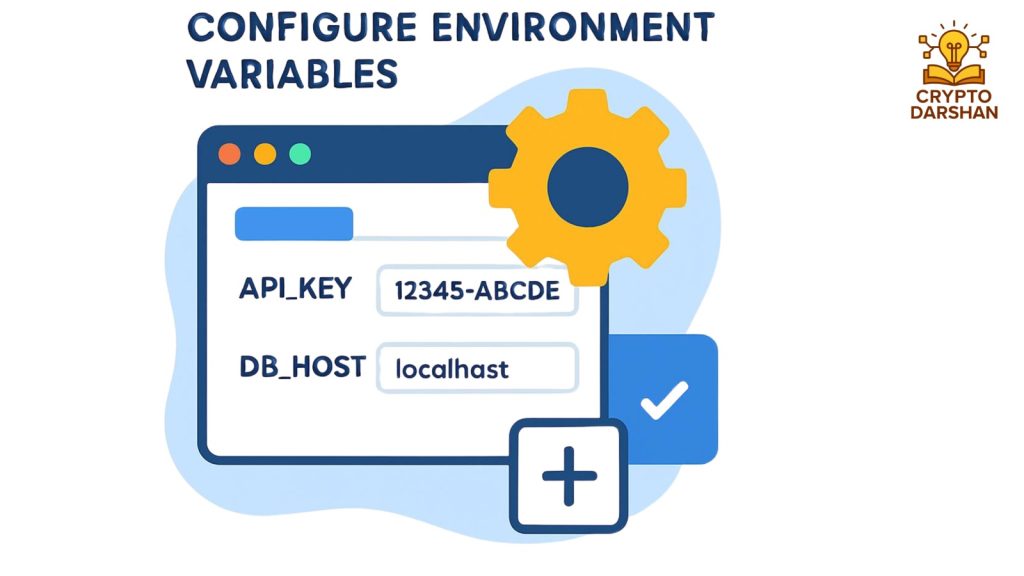
For convenience, add the Polygon SDK binary to the system’s PATH variable. This allows running the polygon-sdk command from any directory without specifying its full path. To do this, add the following line to the shell configuration file (e.g., .bashrc or .zshrc):
export PATH=$PATH:/path/to/polygon-sdk
After saving the file, reload the shell configuration:
source ~/.bashrc
Now, the SDK can be accessed globally from the terminal.
Step 6: Install Additional Tools
Although not mandatory, installing additional tools can improve the development experience:
- Docker: Helps run nodes in isolated containers for testing.
- Node.js and npm: Useful for building and interacting with decentralized applications.
- cURL or Postman: Handy for testing JSON-RPC API calls.
These tools make it easier to deploy, test, and interact with the blockchain network.
Step 7: Test the Setup
To ensure everything is working correctly, initialize a simple test network. Run the following command to create a genesis file:
./polygon-sdk genesis –consensus ibft –ibft-validators-prefix-path test-chain
Then, start a node:
./polygon-sdk server –data-dir test-chain –chain genesis.json –grpc-address :10000 –libp2p :10001 –jsonrpc :10002
If the node starts successfully and displays log messages, the environment is correctly configured.
Building a Custom Blockchain with Polygon SDK

This section outlines how to create a custom blockchain network using the Polygon SDK in under 30 minutes. If you’re comparing scaling technologies, don’t miss our explainer on Polygon zkEVM and how it delivers faster, cheaper Ethereum transactions
Step 1: Initialize the Genesis File
The genesis file defines the initial state of the blockchain, including validators, balances, and configuration parameters.
./polygon-sdk genesis –consensus ibft –ibft-validators-prefix-path test-chain
This command creates a genesis file with IBFT consensus and initializes validator keys.
Step 2: Start the First Node
./polygon-sdk server –data-dir test-chain-1 –chain genesis.json –grpc-address :10000 –libp2p :10001 –jsonrpc :10002
This starts the first node, which acts as a validator.
Step 3: Start Additional Nodes
Repeat the process for additional nodes, changing the port numbers and data directories.
./polygon-sdk server –data-dir test-chain-2 –chain genesis.json –grpc-address :20000 –libp2p :20001 –jsonrpc :20002
Step 4: Connect Nodes
Use the peer command to connect nodes to the network.
./polygon-sdk peers add <peer-address>
Step 5: Verify Network Status
Use the JSON-RPC API to check the network status and connected peers.
curl -X POST –data ‘{“jsonrpc”:”2.0″,”method”:”net_peerCount”,”params”:[],”id”:1}’ http://localhost:10002
Deploying Smart Contracts
Once the network is running, smart contracts can be deployed using standard Ethereum tools like Remix or Hardhat.
Step 1: Configure the RPC Endpoint
Every blockchain node exposes an RPC (Remote Procedure Call) endpoint that allows external applications to communicate with it. This endpoint is used by tools like Remix, Hardhat, or Truffle to send transactions and deploy contracts.
When starting a Polygon SDK node, the JSON-RPC service is usually available on a specific port, such as http://localhost:10002. To confirm the endpoint, check the node startup logs or configuration file. Once identified, this endpoint will be used to connect deployment tools to the blockchain.
For example:
RPC Endpoint: http://localhost:10002
This address acts as the gateway for all contract deployment and interaction commands.
Step 2: Choose a Deployment Tool
There are several tools available for deploying smart contracts. The most common ones include:
- Remix IDE: A web-based environment for writing, compiling, and deploying Solidity contracts.
- Hardhat: A development framework that automates compilation, testing, and deployment.
- Truffle: A popular framework for managing smart contract projects and migrations.
Each tool connects to the blockchain through the RPC endpoint and uses a wallet or private key to sign transactions.
Step 3: Compile the Smart Contract
Before deployment, the smart contract must be compiled into bytecode that the EVM can execute. If using Remix, paste the Solidity code into the editor and click the Compile button. For Hardhat or Truffle, use the command line:
Hardhat:
npx hardhat compile
Truffle:
truffle compile
The compiler checks the code for syntax errors and generates two important files:
- Bytecode: The machine-readable version of the contract.
- ABI (Application Binary Interface): Defines how external applications can interact with the contract.
These files are essential for deployment and later interaction.
Step 4: Connect to the Polygon SDK Network

After compiling, connect the deployment tool to the Polygon SDK network using the RPC endpoint. In Remix, this can be done by selecting Injected Web3 or Custom Network and entering the endpoint URL. In Hardhat or Truffle, update the configuration file to include the network details.
Example Hardhat configuration:
networks: { polygonSDK: { url: “http://localhost:10002”, accounts: [“0xYOUR_PRIVATE_KEY”] } }
This configuration tells Hardhat to use the local Polygon SDK node for deployment and specifies the account that will sign transactions.
Step 5: Deploy the Contract
Once connected, deploy the contract to the network. In Remix, select the compiled contract, choose the correct environment (Custom Network), and click Deploy. In Hardhat or Truffle, use the command line:
Hardhat:
npx hardhat run scripts/deploy.js –network polygonSDK
Truffle:
truffle migrate –network polygonSDK
During deployment, the tool sends a transaction containing the contract bytecode to the blockchain. The node processes the transaction, and once it’s confirmed, the contract is assigned a unique address on the network.
Step 6: Verify Deployment
After deployment, verify that the contract is live on the network. The deployment tool will display the contract address in the terminal or console. This address can be used to interact with the contract.
To confirm the deployment manually, use a JSON-RPC call:
curl -X POST –data ‘{“jsonrpc”:”2.0″,”method”:”eth_getCode”,”params”:[“0xCONTRACT_ADDRESS”,”latest”],”id”:1}’ http://localhost:10002
If the response contains bytecode (not 0x), the contract has been successfully deployed.
Customizing the Blockchain

Polygon SDK allows deep customization of blockchain parameters. Want to know how blockchain infrastructure is evolving beyond finance? Explore our article on decentralized physical infrastructure and the rise of DePIN networks.
1. Consensus Configuration
Modify the consensus type in the genesis file to switch between PoA, PoS, or IBFT.
2. Block Time
Adjust block time to control transaction throughput and confirmation speed.
3. Gas Limits
Set gas limits to manage transaction costs and prevent network congestion.
4. Tokenomics
Define native token supply, distribution, and reward mechanisms.
5. Governance
Integrate on-chain governance modules for decentralized decision-making.
Developers exploring custom chains should also read our breakdown of Polygon CDK and how companies are building their own zk-powered blockchains.
Advanced Features

1. Cross-Chain Communication
Polygon SDK supports interoperability between chains using bridges and message-passing protocols.
2. Layer 2 Integration
Developers can build Layer 2 solutions such as rollups or sidechains using the SDK’s modular framework.
3. Private Networks
For enterprise use cases, private networks can be configured with restricted access and custom permissions.
4. Monitoring and Analytics
Integrate monitoring tools like Prometheus and Grafana to track network performance and node health.
Common Use Cases
- DeFi Platforms
Build decentralized exchanges, lending platforms, and yield farming protocols. - Gaming and NFTs
Create blockchain-based games and NFT marketplaces with low transaction fees. - Enterprise Solutions
Develop private blockchains for supply chain management, identity verification, or data sharing. - Cross-Chain Bridges
Enable asset transfers between Ethereum, Polygon, and other networks. - DAO Governance
Implement decentralized governance systems for community-driven projects.
Best Practices for Building with Polygon SDK

- Use Version Control
Maintain code consistency and track changes using Git. - Secure Validator Keys
Store private keys securely to prevent unauthorized access. - Optimize Gas Usage
Design smart contracts efficiently to minimize gas consumption. - Regular Backups
Backup node data and configuration files regularly. - Test Before Deployment
Use testnets to identify and fix issues before launching on mainnet. - Monitor Network Health
Continuously monitor node performance and network stability.
Troubleshooting Common Issues
Node Not Starting
Check for port conflicts or missing dependencies.
Peers Not Connecting
Ensure nodes are using the correct peer addresses and ports.
Transactions Not Confirming
Verify consensus configuration and block time settings.
Smart Contract Errors
Check for compatibility issues with the EVM or incorrect gas limits.
Performance Optimization

- Adjust Block Size
Increase block size for higher throughput. - Enable Caching
Use caching mechanisms to speed up transaction processing. - Optimize Database
Use efficient storage backends like LevelDB or RocksDB. - Load Balancing
Distribute network load across multiple nodes.
Security Considerations
- Consensus Security
Choose a consensus mechanism that aligns with the network’s trust model. - Smart Contract Audits
Conduct regular audits to identify vulnerabilities. - Access Control
Implement role-based permissions for private networks. - Data Encryption
Encrypt sensitive data to prevent unauthorized access.
Future of Polygon SDK

Polygon SDK continues to evolve, with ongoing development focused on:
- Enhanced interoperability with other blockchains
- Improved developer tooling and documentation
- Integration with zero-knowledge (ZK) technologies
- Support for new consensus algorithms
As blockchain adoption grows, Polygon SDK will play a crucial role in enabling scalable, customizable, and interoperable blockchain ecosystems.
FAQ: Polygon SDK — Build Custom Chains in 30 Minutes

What is Polygon SDK?
Polygon SDK is an open-source framework that helps developers create custom Ethereum-compatible blockchain networks quickly. It allows projects to launch standalone chains or Layer-2 solutions with flexible configurations.
How does Polygon SDK work?
Polygon SDK provides pre-built modules for networking, consensus, staking, and governance. Developers can customize these modules to create blockchain networks tailored to gaming, DeFi, NFTs, enterprise systems, or other applications.
Is Polygon SDK the same as Polygon CDK?
No. Polygon SDK was an earlier framework focused on building standalone or sidechain-based networks, while Polygon CDK is the newer toolkit designed for creating ZK-powered Layer-2 chains connected to the broader Polygon ecosystem.
Can beginners use Polygon SDK?
Yes. Developers with basic blockchain and programming knowledge can start using Polygon SDK. It simplifies many technical processes, making blockchain deployment faster and easier than building a chain from scratch.
Which programming language is used in Polygon SDK?
Polygon SDK is primarily written in Go (Golang). Developers usually need familiarity with Go, smart contracts, and Ethereum development tools.
What types of blockchains can be built using Polygon SDK?
You can build:
- Sidechains
- Enterprise blockchains
- Gaming chains
- DeFi-focused networks
- NFT ecosystems
- Private or public blockchains
How long does it really take to build a chain with Polygon SDK?
A basic blockchain prototype can be launched in under 30 minutes using default configurations. However, production-ready chains with security, governance, and validators require more development and testing time.
Conclusion
Polygon SDK empowers developers to build custom blockchain networks quickly and efficiently. Its modular architecture, Ethereum compatibility, and scalability make it an ideal choice for projects ranging from DeFi platforms to enterprise solutions. By following the steps outlined in this guide, developers can create a fully functional blockchain in under 30 minutes, deploy smart contracts, and customize network parameters to suit specific needs.
Whether building a private chain for internal use or a public network for global users, Polygon SDK provides the flexibility, performance, and interoperability required to bring blockchain visions to life.